

Go to Facebook Business and log in
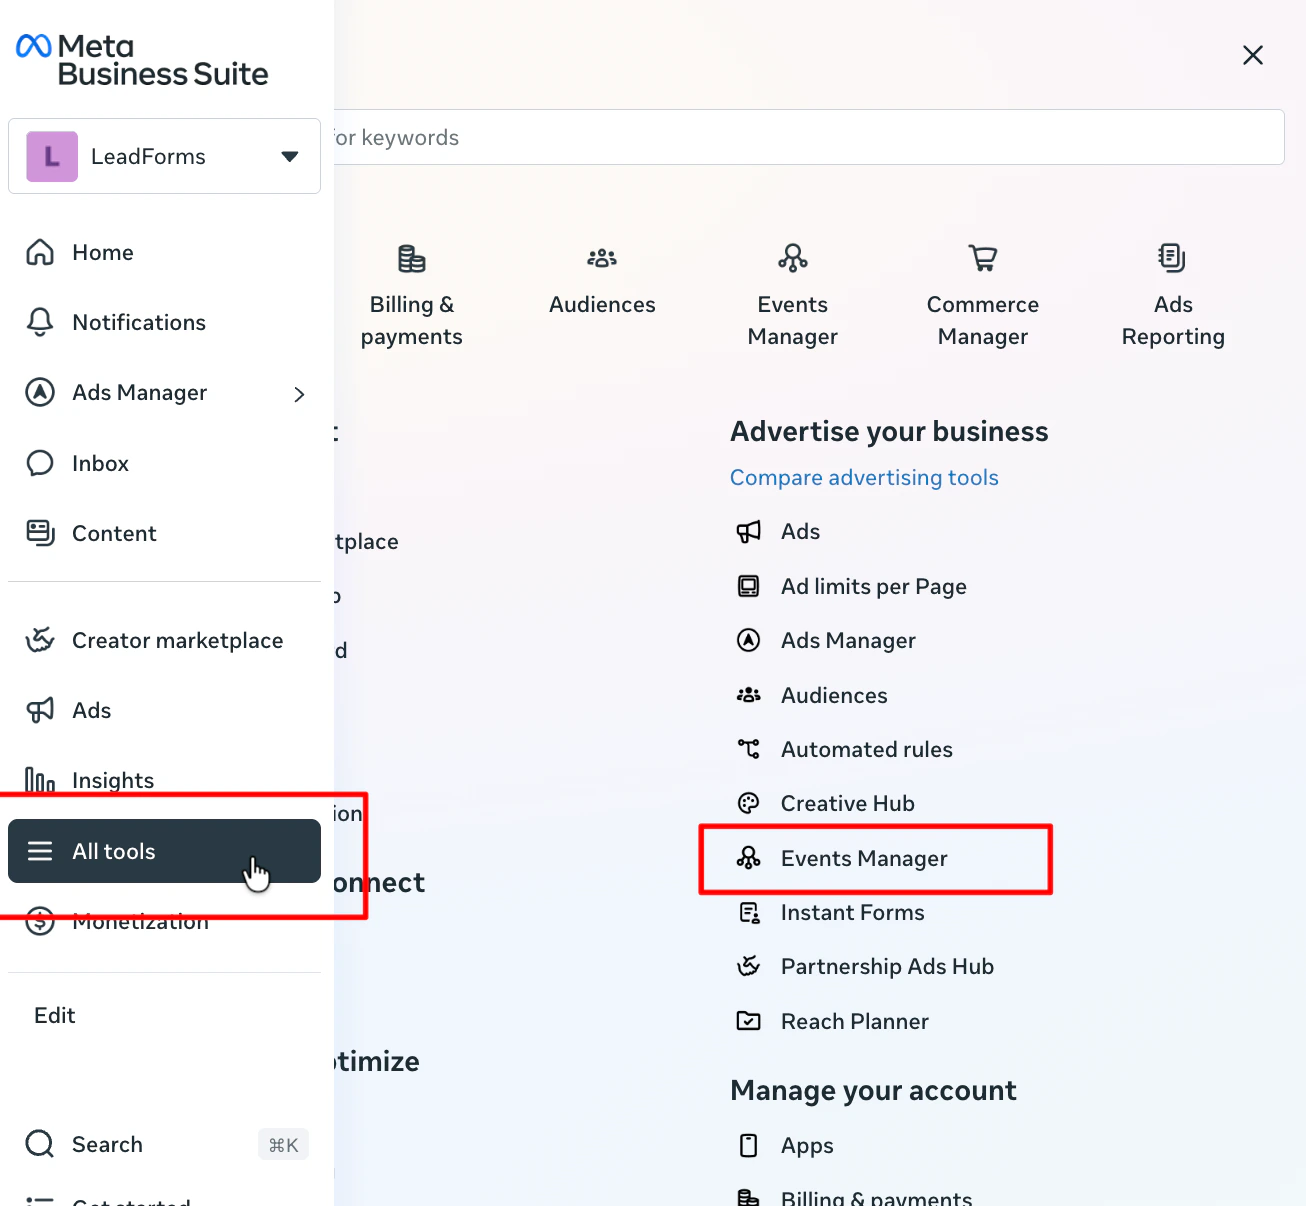
In the left menu, open “All tools” and go to “Events Manager”
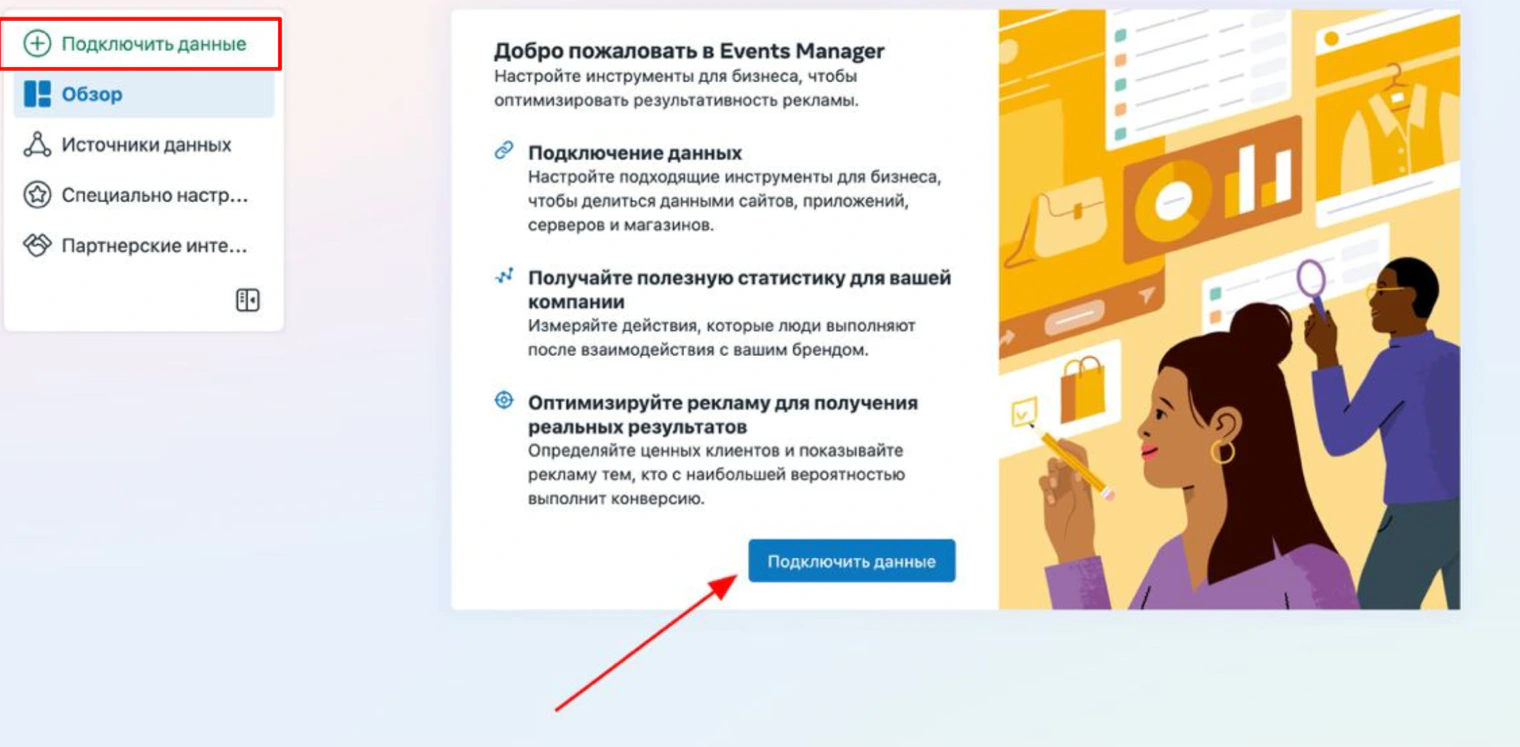
Click “Connect data”
This step is for creating a new pixel. If you already have one, select it under “Data sources”.
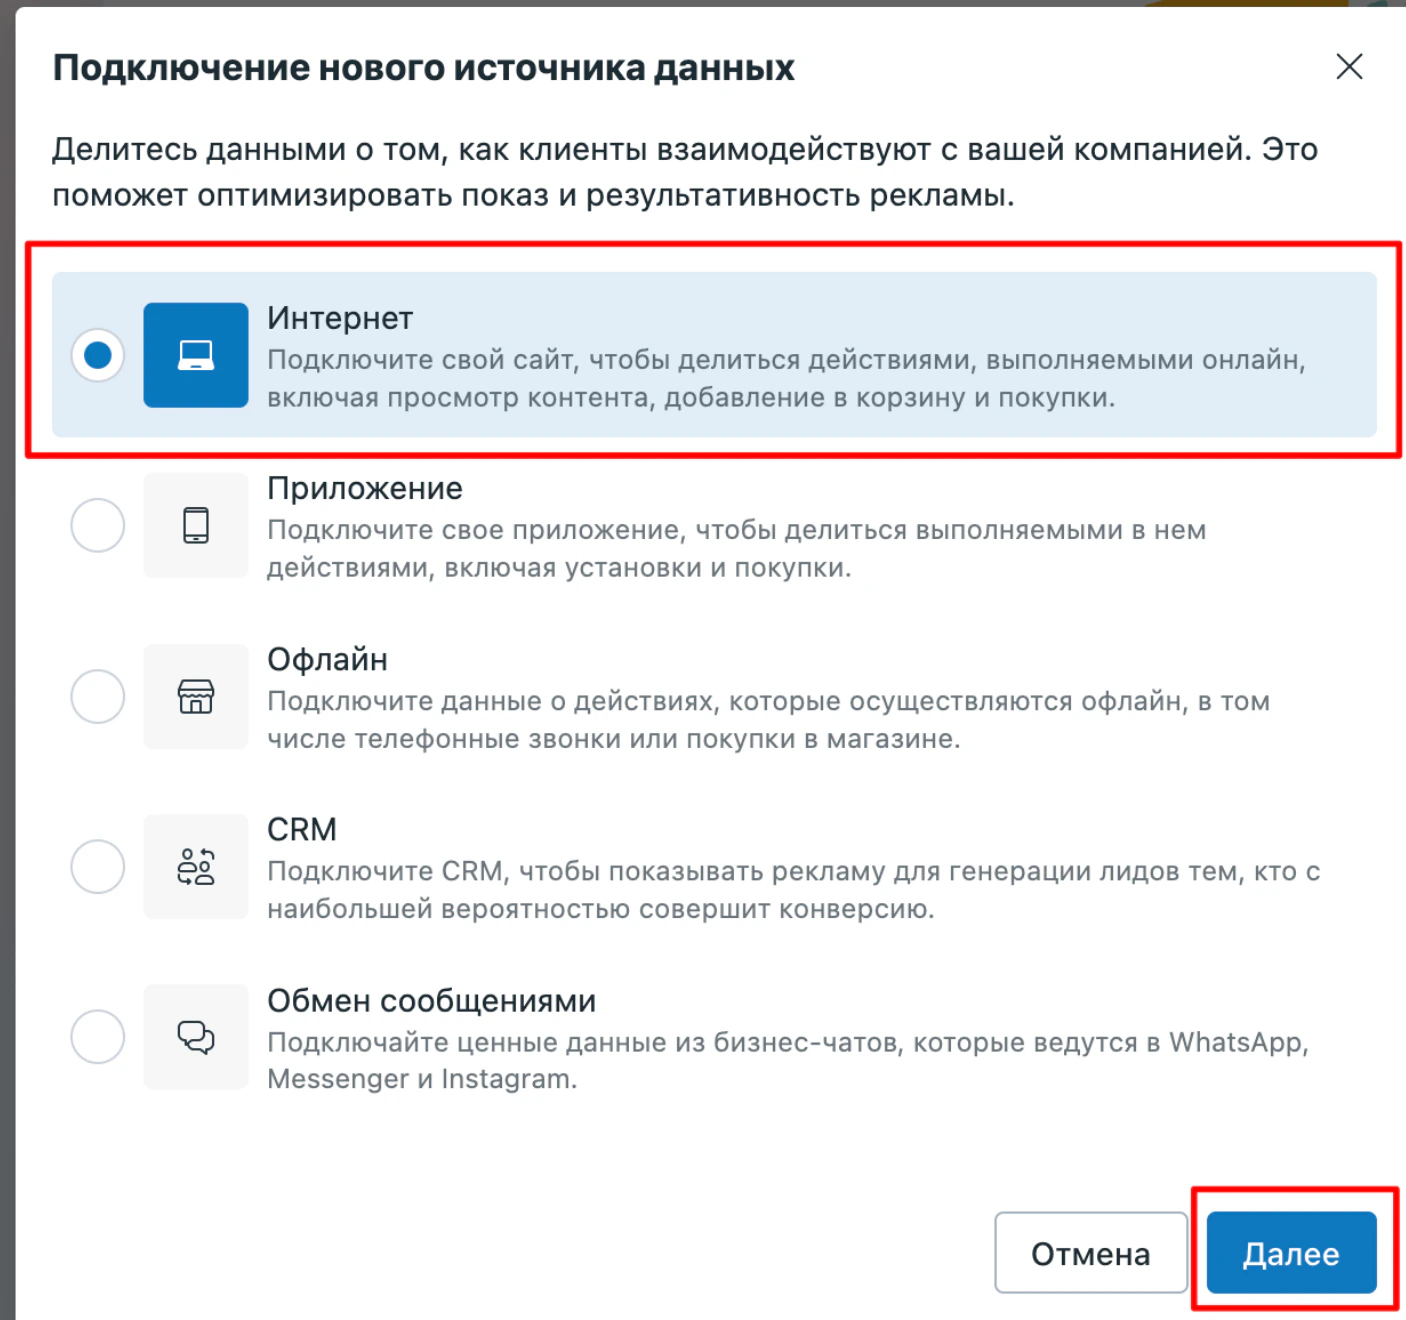
In the window that opens, choose “Web” and click “Next”
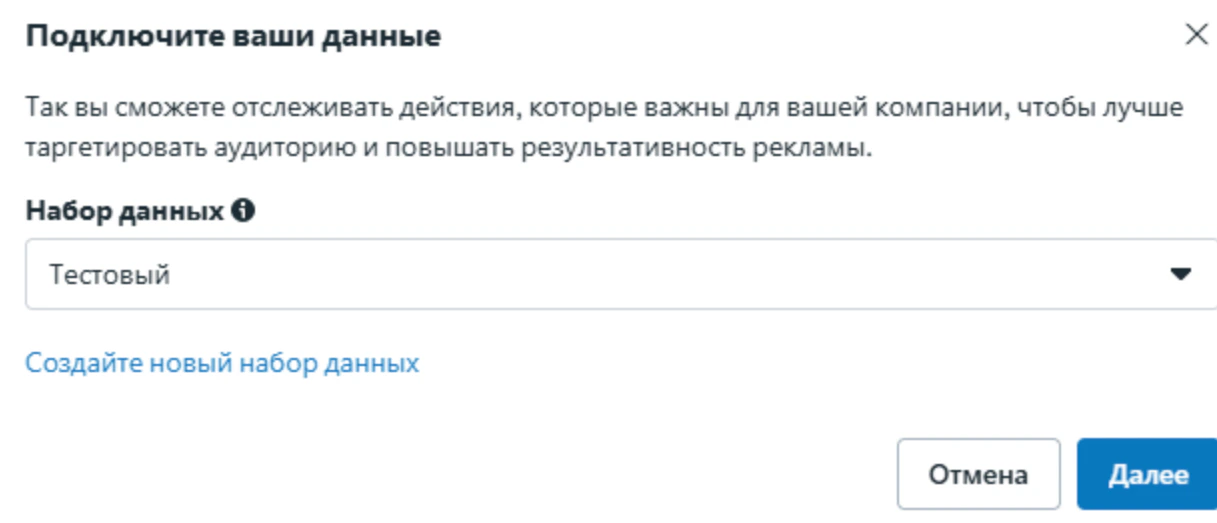
Choose the dataset and click “Next”
If none of them fits, click “Create a dataset” and give it a name.
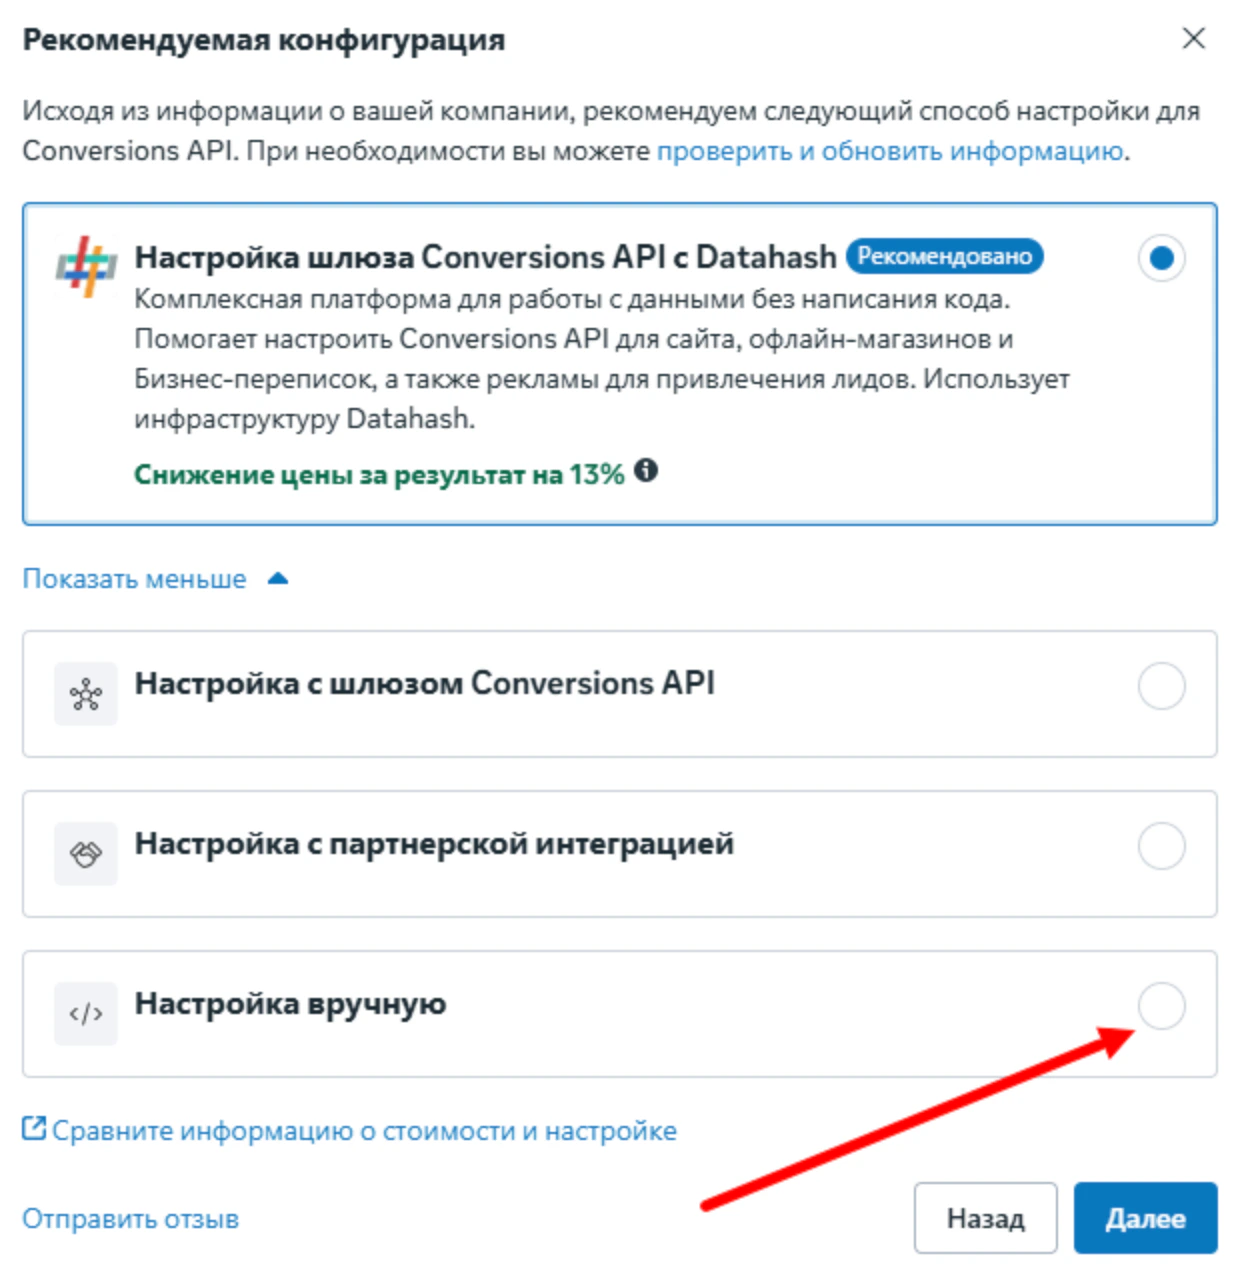
Under “Recommended setup”, choose “Manual setup” and click “Next”
By default, the Conversions API Gateway option is selected, which you do not need here. If you do not see the list of options, expand it with “Show more”.
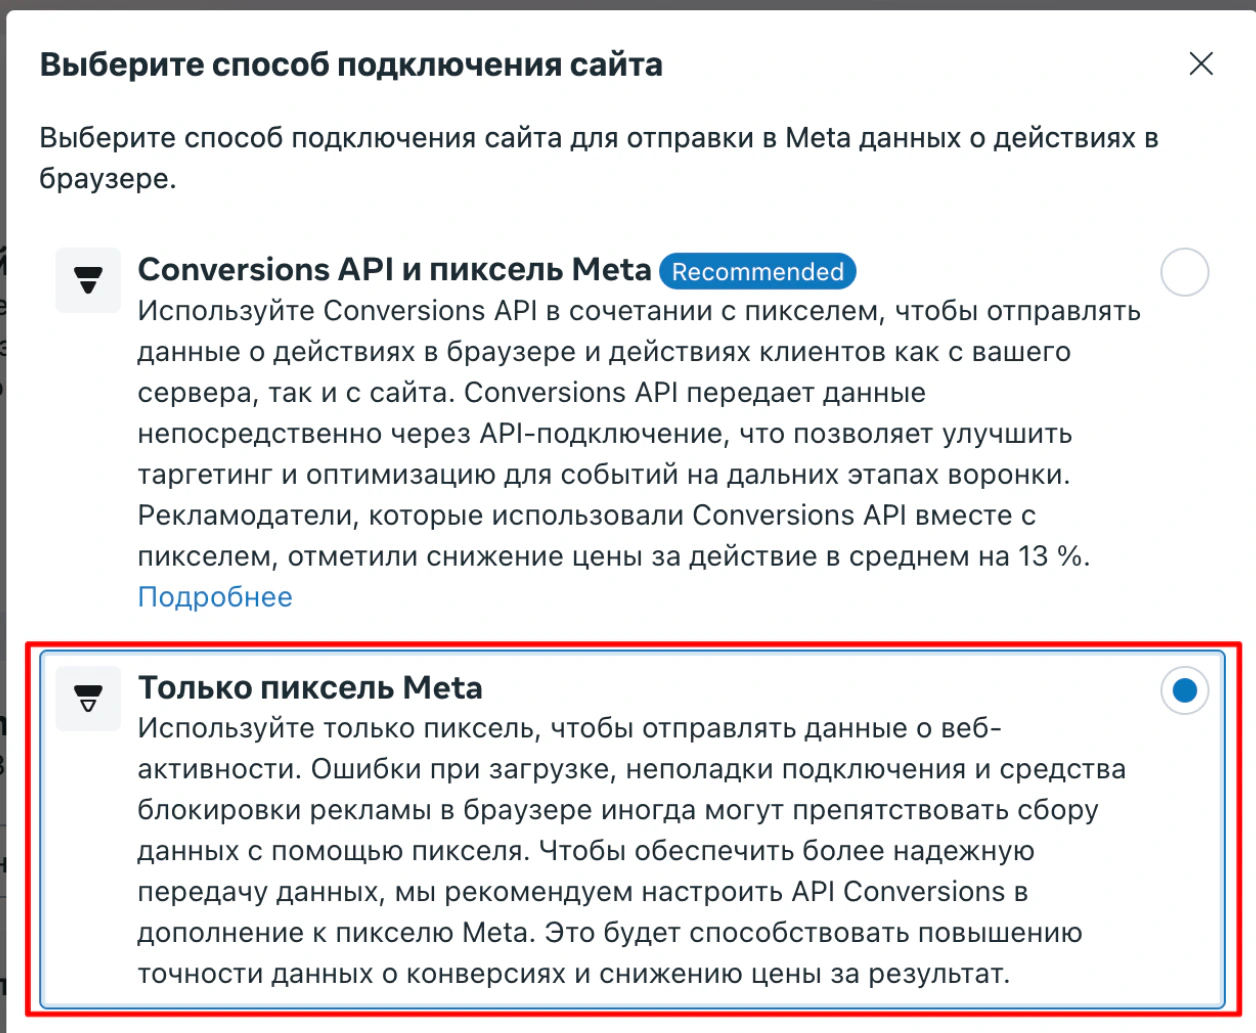
Choose “Meta Pixel only” and click “Next”
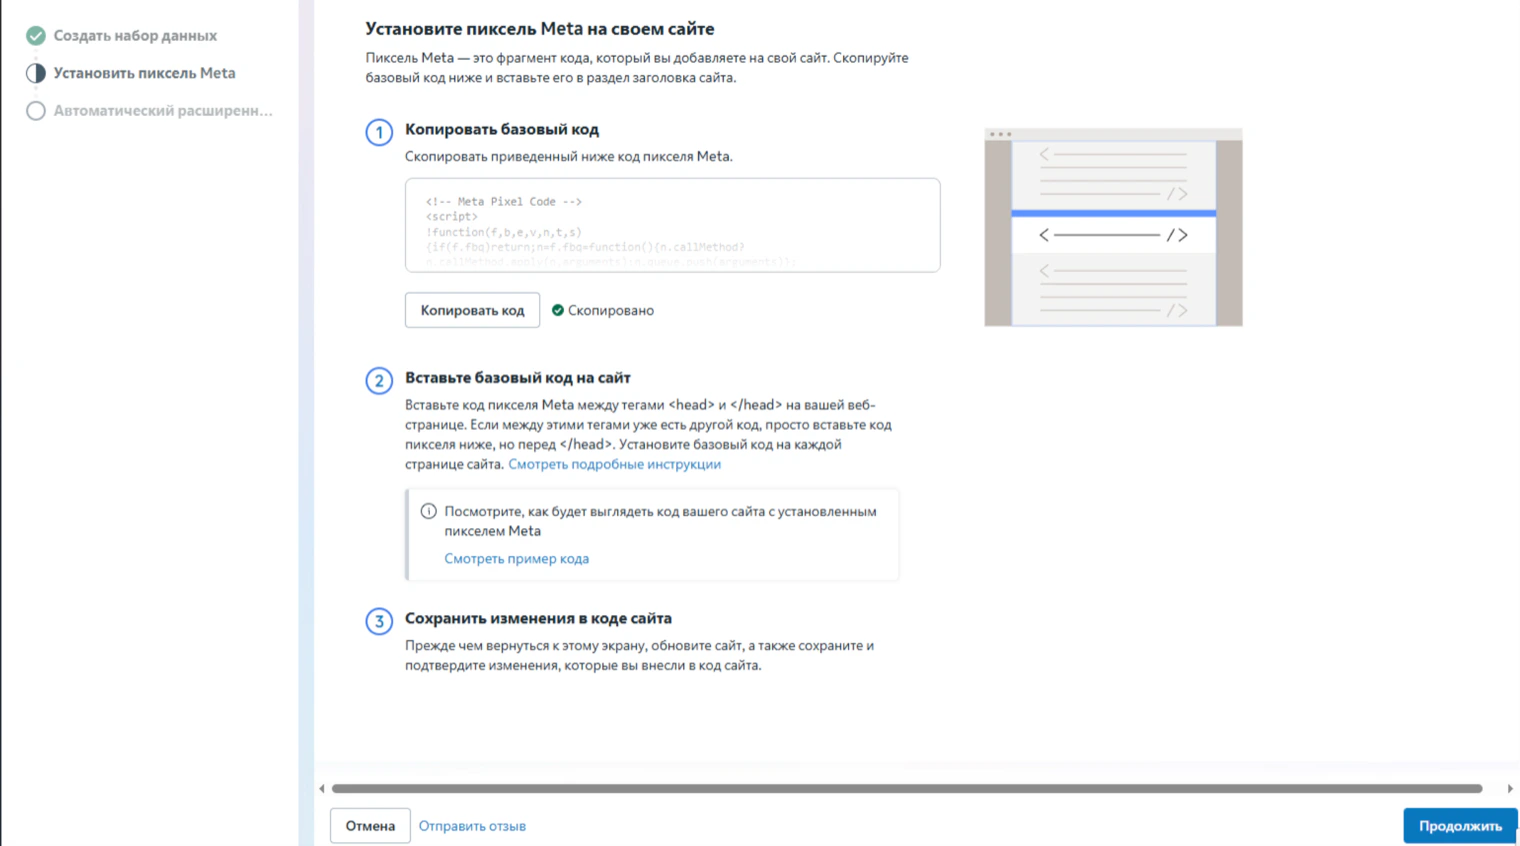
On the screen with the pixel code, click “Continue”
You do not need to copy or paste that code: LeadForms connects the pixel by its ID, which you will copy in the next step.
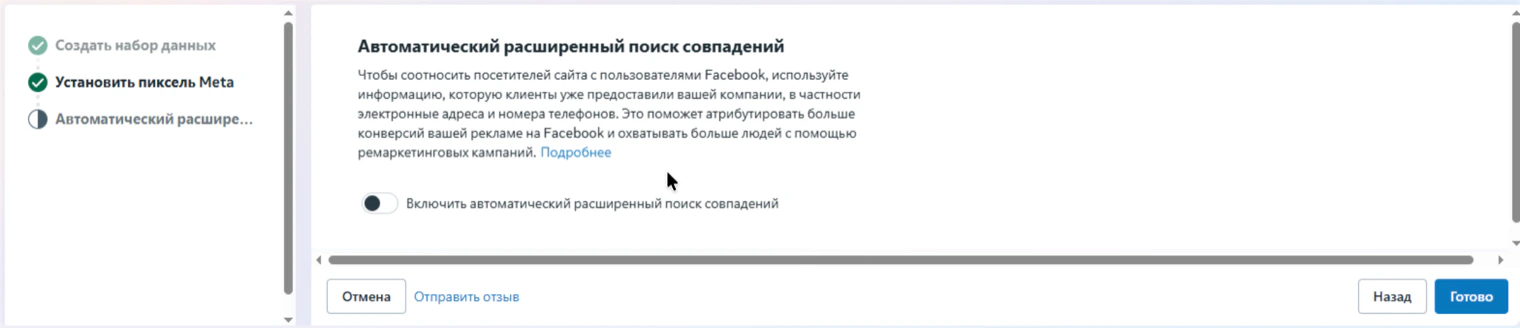
On the next screen, click “Done”
The automatic advanced matching switch can stay off: it does not affect how the pixel works with the quiz.
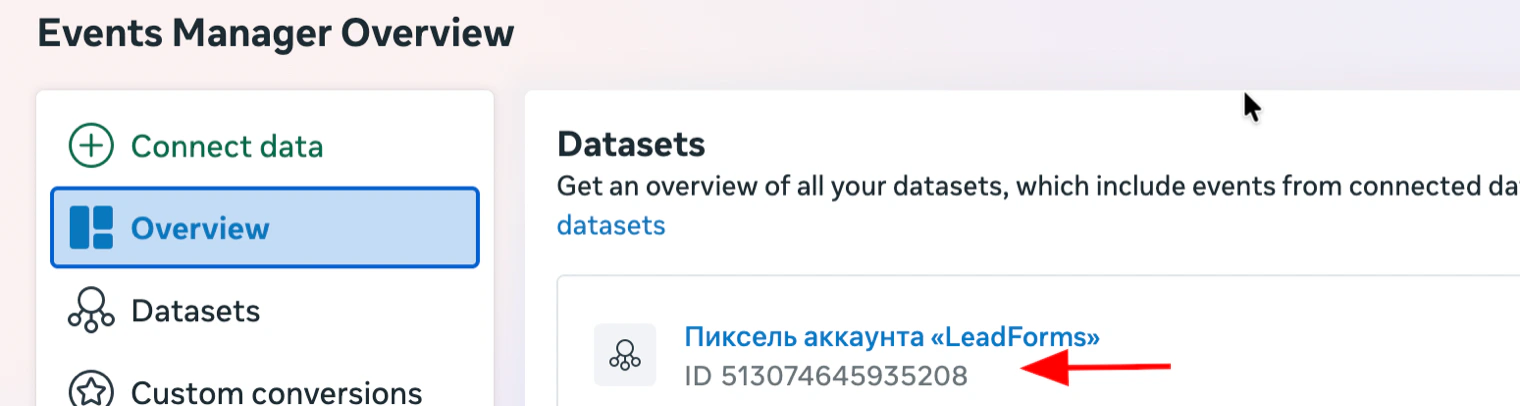
Copy the pixel ID
It is under the pixel name in the list of datasets: the string of digits after “ID”.
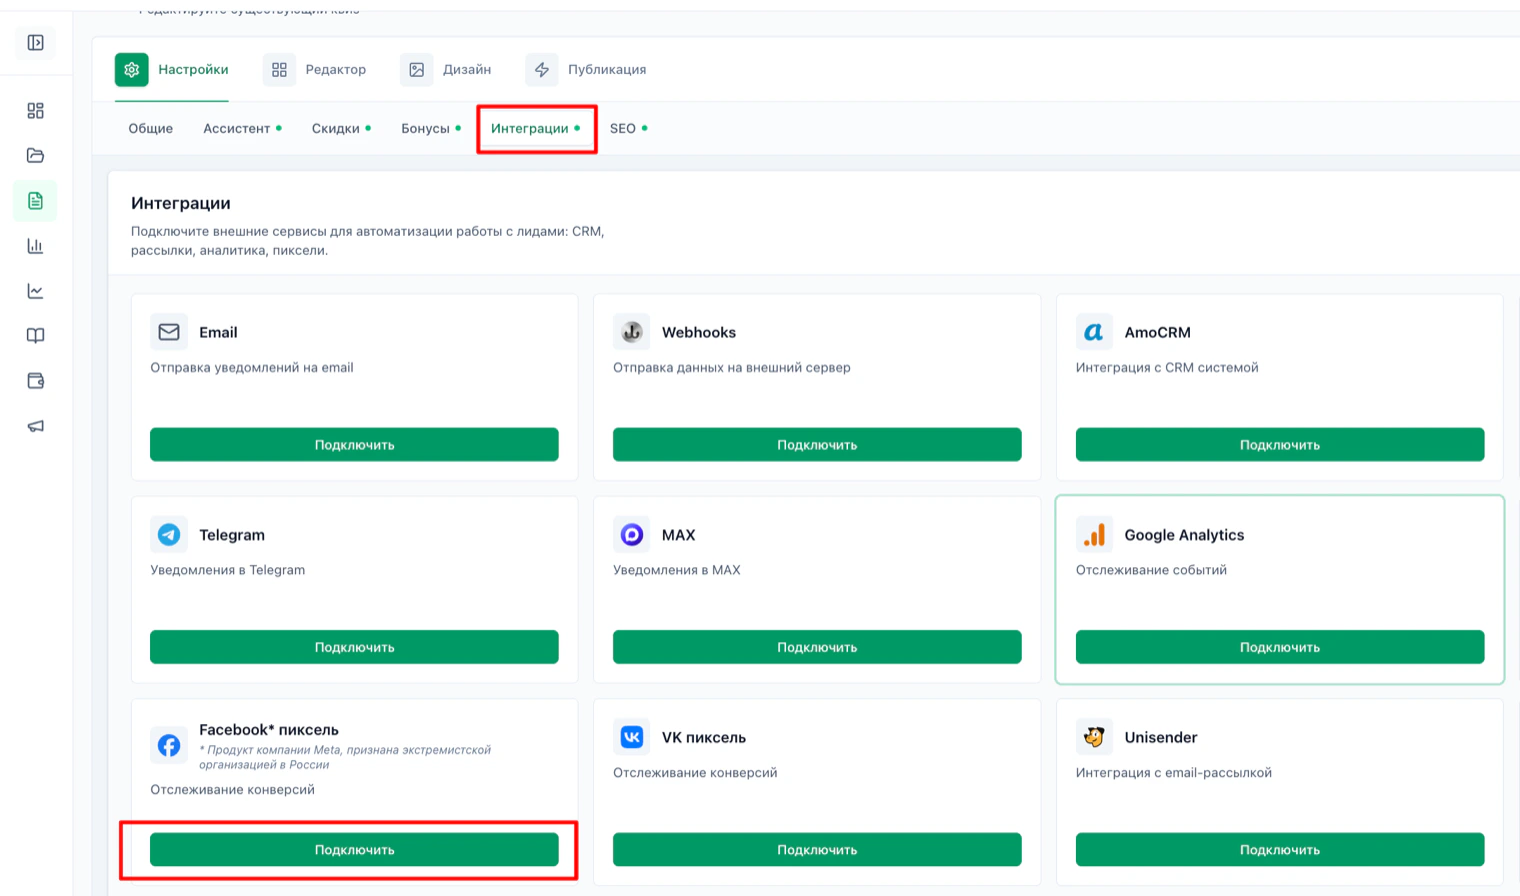
Open the quiz in your LeadForms dashboard, go to “Settings” → “Integrations” and click “Connect” on the Meta pixel card
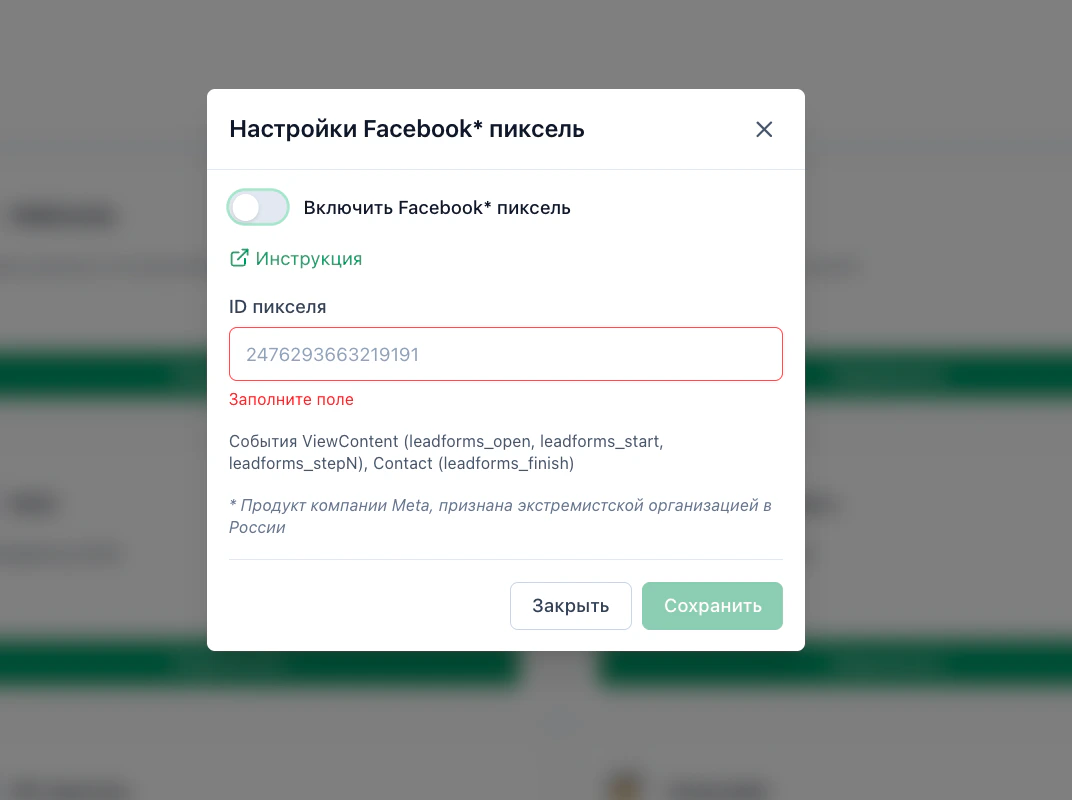
Turn on the switch, paste the copied ID into the “Pixel ID” field and save
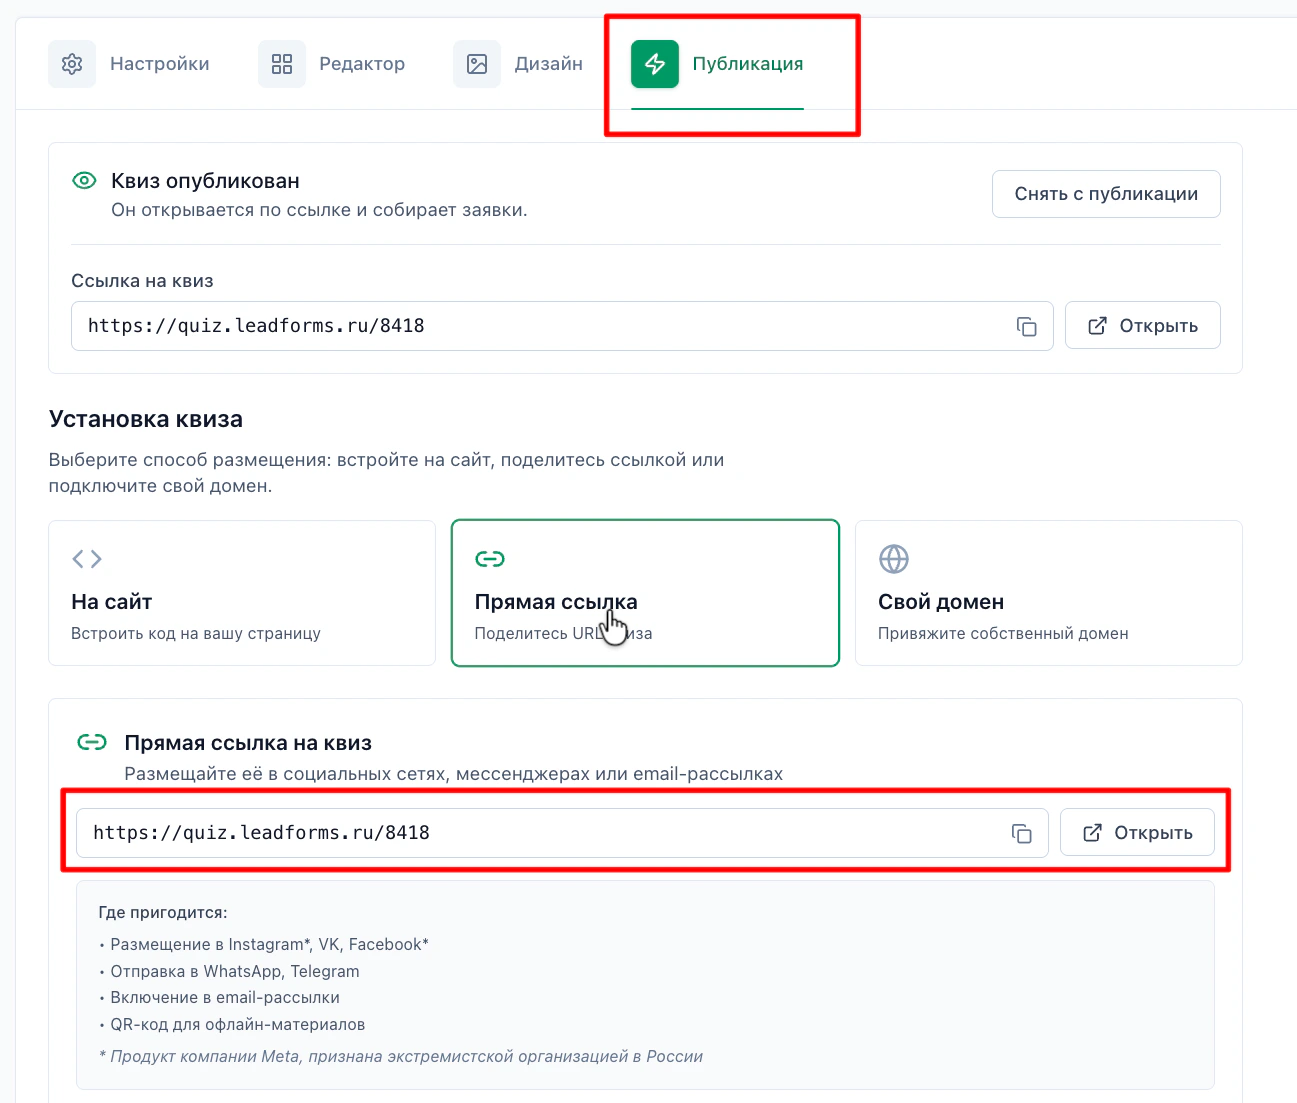
Go to the “Publish” tab and copy the direct quiz link
Test the pixel
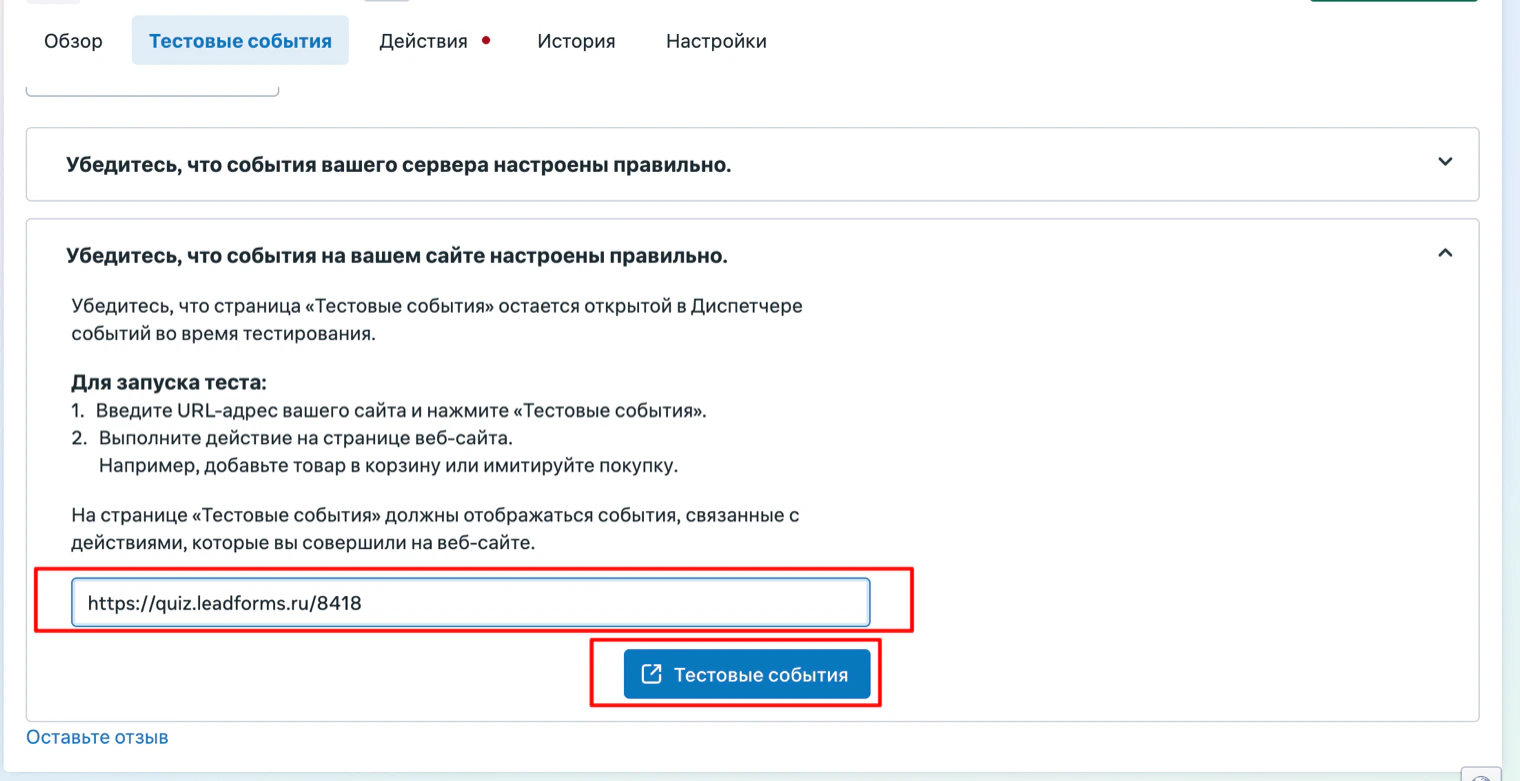
In Events Manager, open your pixel and go to the “Test events” tab. Paste the direct quiz link there and click “Test events”.
Your quiz will open by its direct link. As you go through it, the events will show up in Meta. You need to complete the whole quiz and submit the form.
Do not close the test events tab in the meantime: if you close it, the events do not appear.
Your quiz will open by its direct link. As you go through it, the events will show up in Meta. You need to complete the whole quiz and submit the form.
Do not close the test events tab in the meantime: if you close it, the events do not appear.
The Meta pixel tracks these events:
• Someone opens the quiz. Event type: ViewContent, content_name: leadforms_open
• Someone clicks the button on the start screen. Event type: ViewContent, content_name: leadforms_start
• Someone answers question N. Event type: ViewContent, content_name: leadforms_stepN
• Someone leaves their details. Event type: Contact, content_name: leadforms_finish
• Someone clicks the button on the start screen. Event type: ViewContent, content_name: leadforms_start
• Someone answers question N. Event type: ViewContent, content_name: leadforms_stepN
• Someone leaves their details. Event type: Contact, content_name: leadforms_finish
Stuck with the setup?
If something does not work, and we will sort it out with you.
