Create the quiz
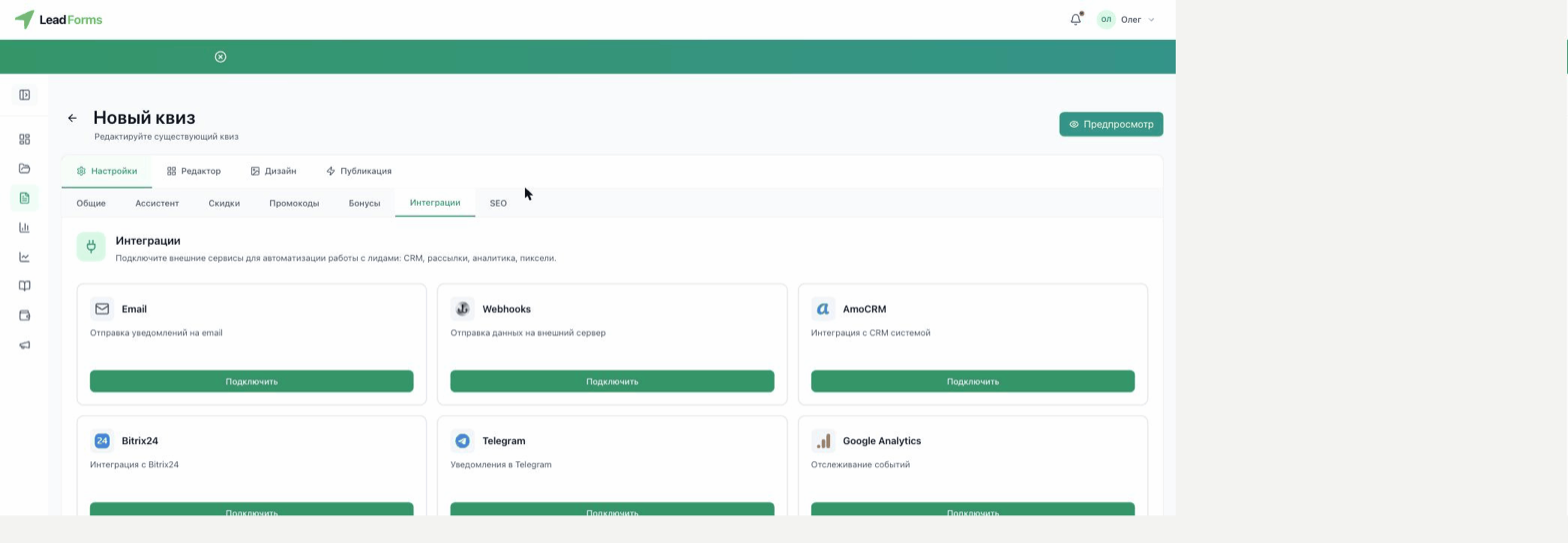
Open the “Quizzes” section in the side menu and click “Create from scratch”. Next to it are other options: start from a template, import a quiz, or generate one with AI. Here we go with the first one.
Confirm
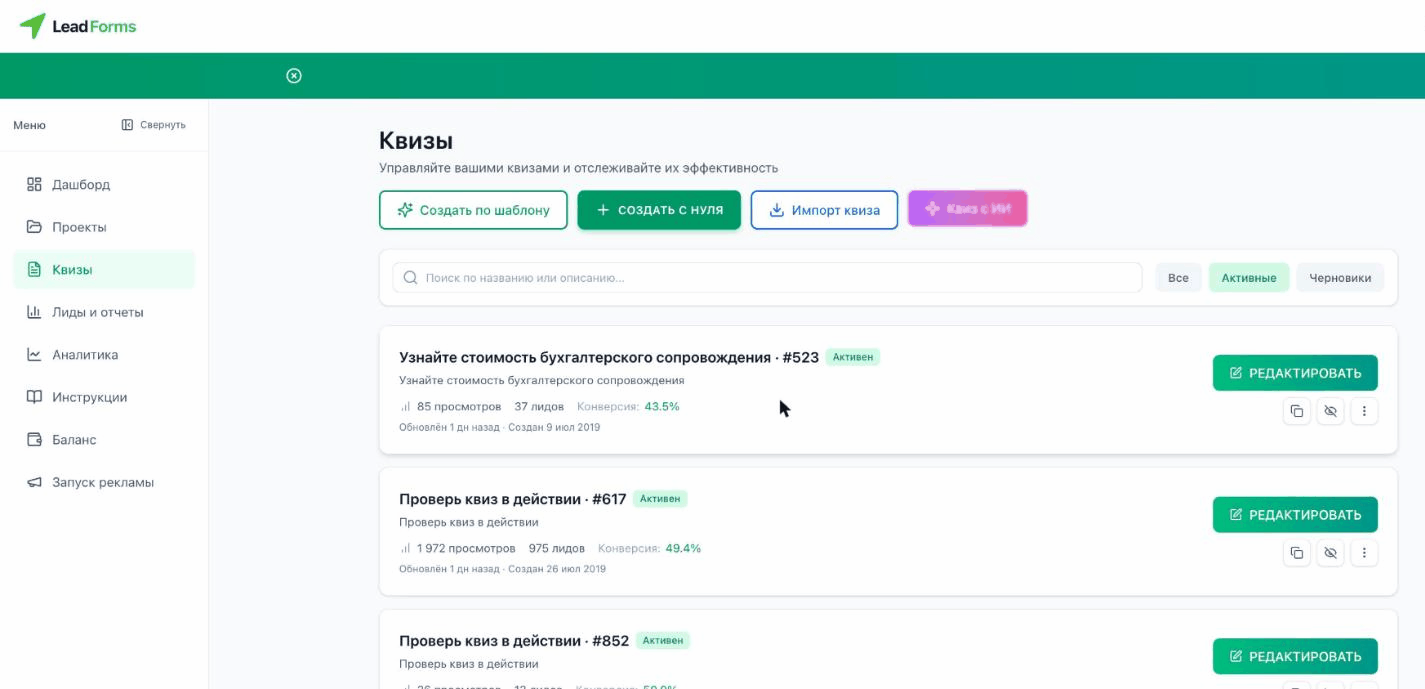
In the “Create quiz” window, click “Create”. The editor of your new quiz opens.
The editor
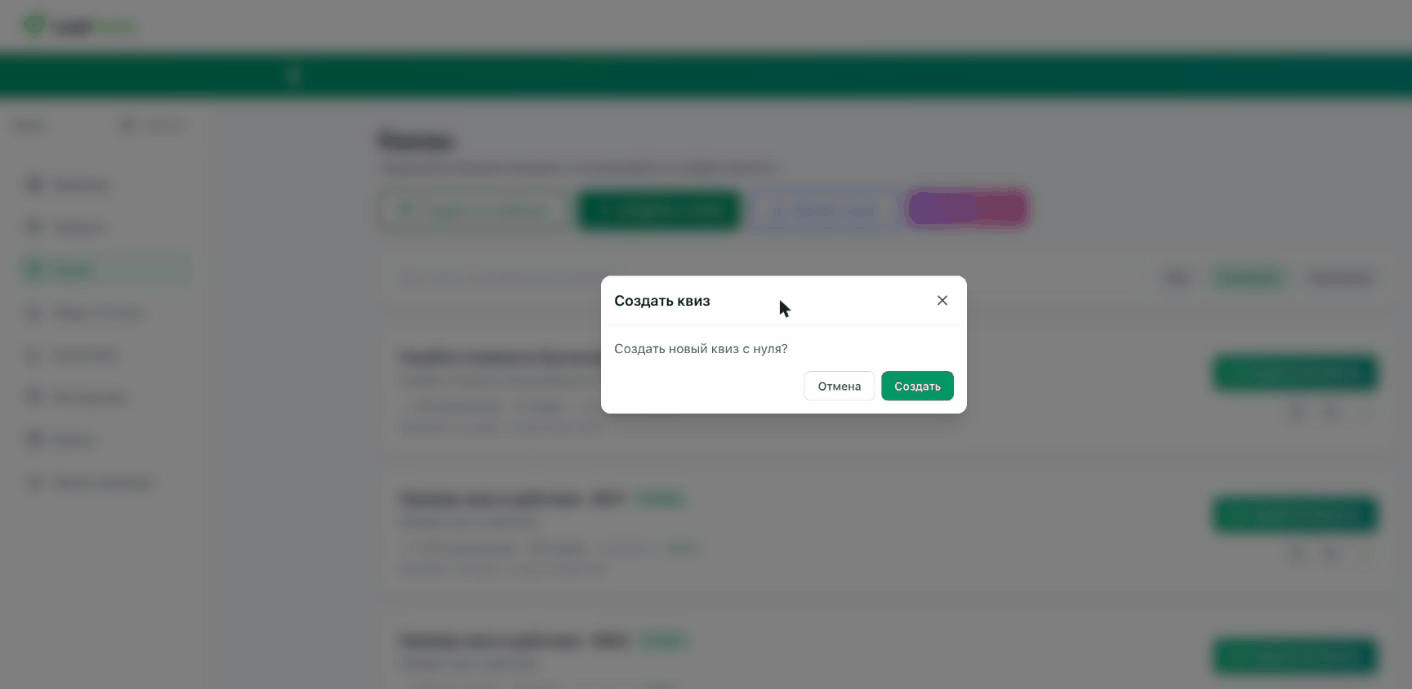
The editor has four tabs: “Settings”, “Editor”, “Design” and “Publish”. The “Editor” tab holds the step-by-step wizard: Start page → Questions → Contact form → Results → Thank-you page. The live preview is always on the right, and you can switch it between desktop and mobile.
Here is the whole wizard, from the start page to publishing:
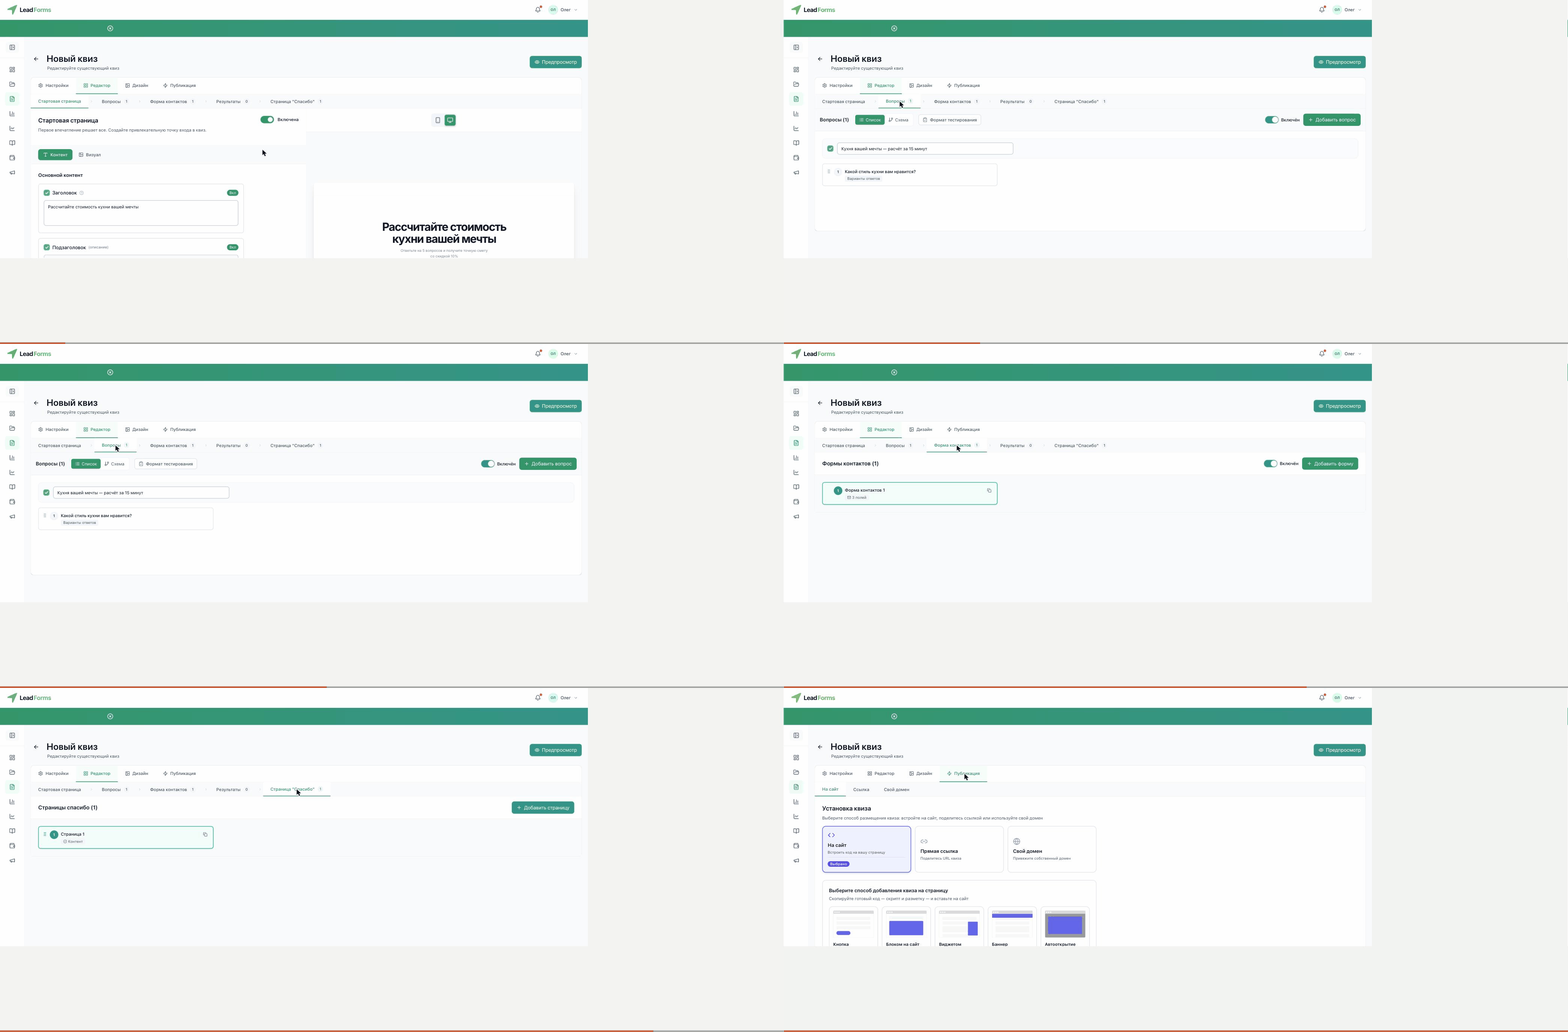
Start page: content
The start page is what gets people to take the quiz. In the “Content” tab, enter the headline and subheadline and, if needed, your company name or slogan, phone number and button text. Changes show up in the preview right away. You can turn the start page off with the “Enabled” toggle: the quiz then opens straight on the first question.
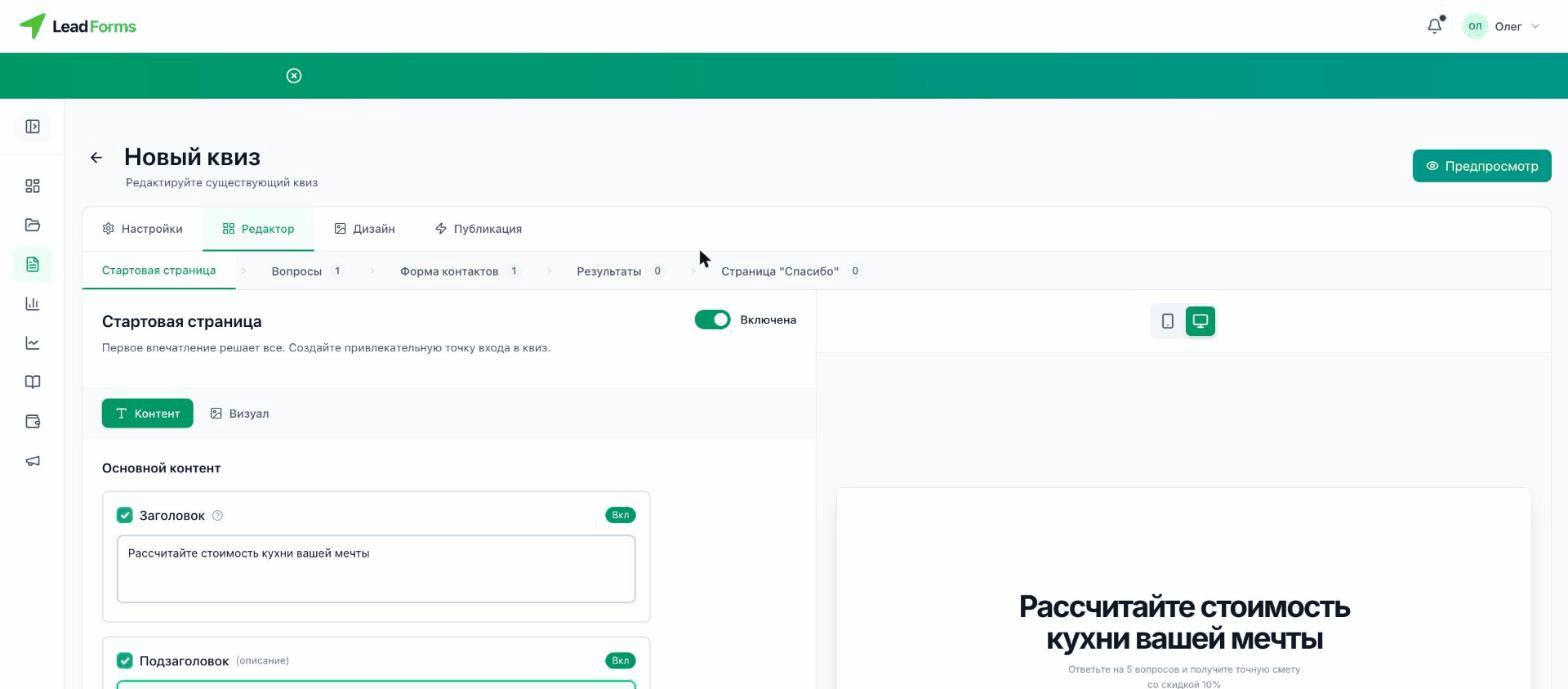
Start page: image
Switch to the “Image” tab to add your logo and media (photo or video) and choose the layout. An image that fits your industry and your logo make the quiz more trustworthy.
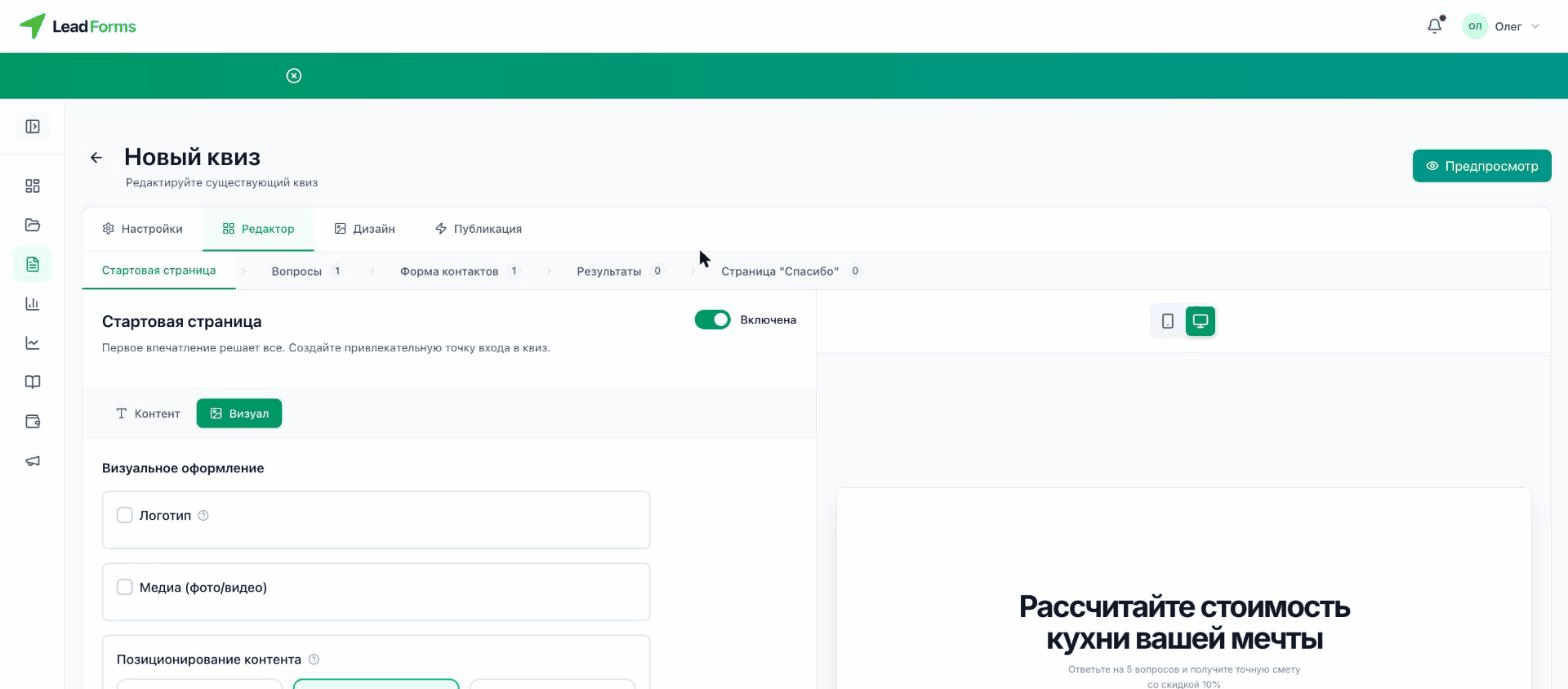
Questions: add them and pick a type
Go to the “Questions” step. Enter the quiz headline (it shows on every question) and open a question to edit it. Type the question text and pick the type: answer options, image choices, emoji, free text, dropdown list, date, slider, file upload, rating and more.
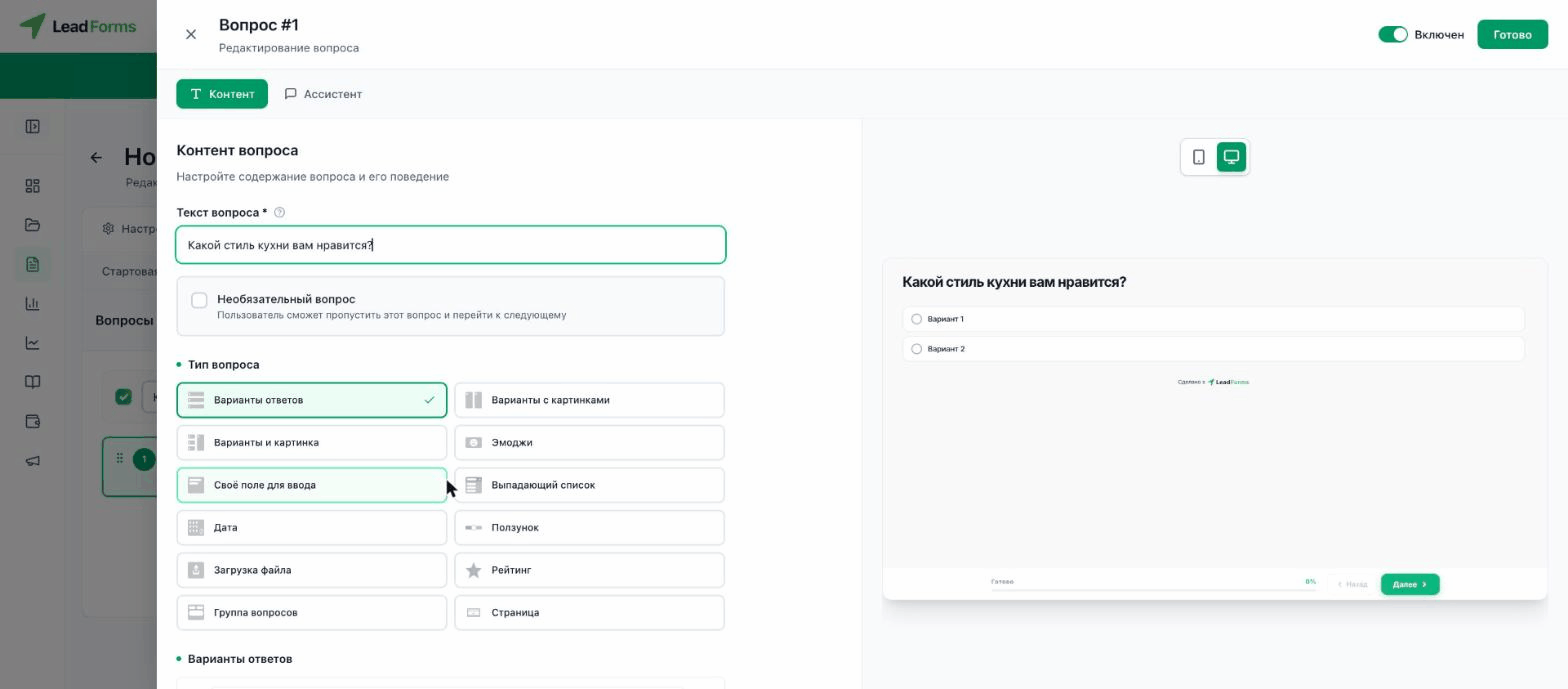
Questions: answer options
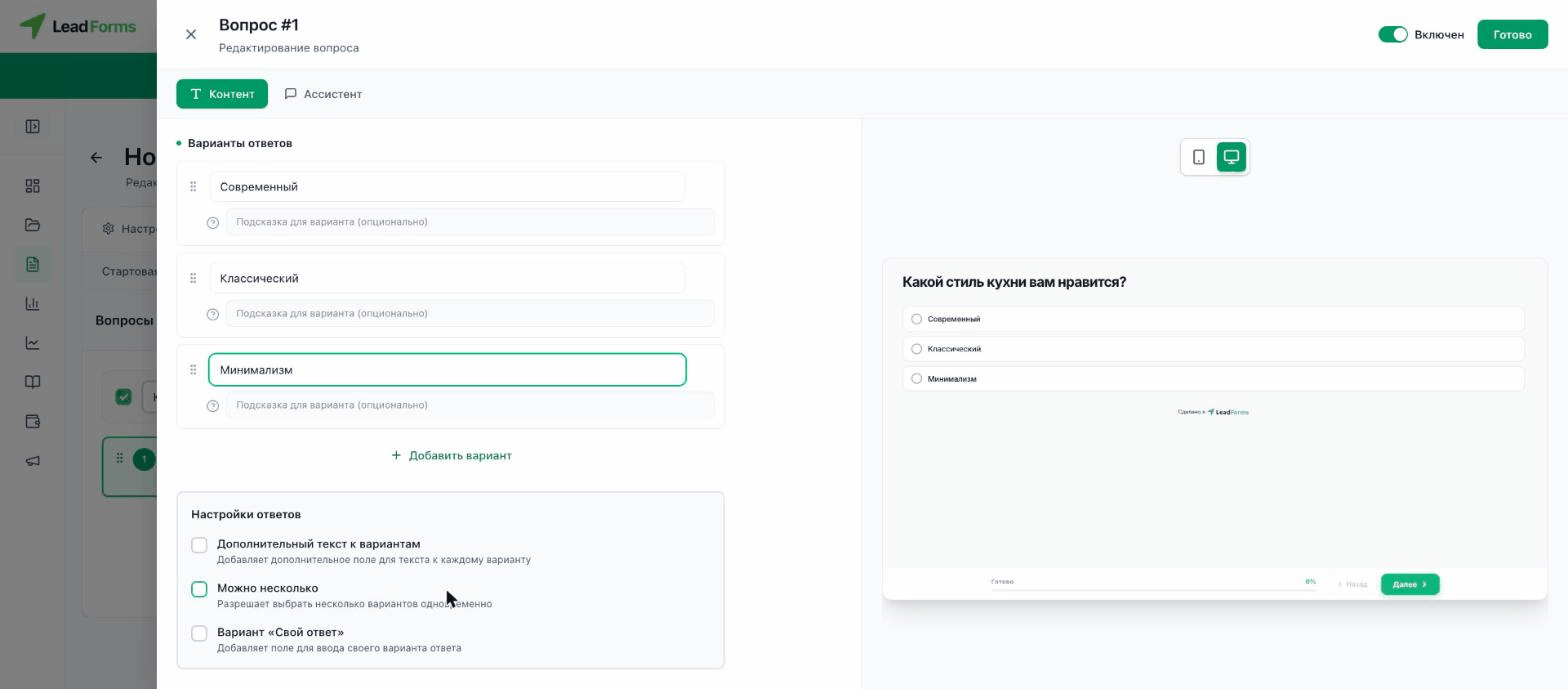
In the “Answer options” block, add as many options as you need and edit them. Drag the icon on the left to change the order. In the “Answer settings” block you can turn on “Allow multiple” (multiple choice) and “Other answer” (a free-text field) in case none of the options fits.
Advisor tips for each question
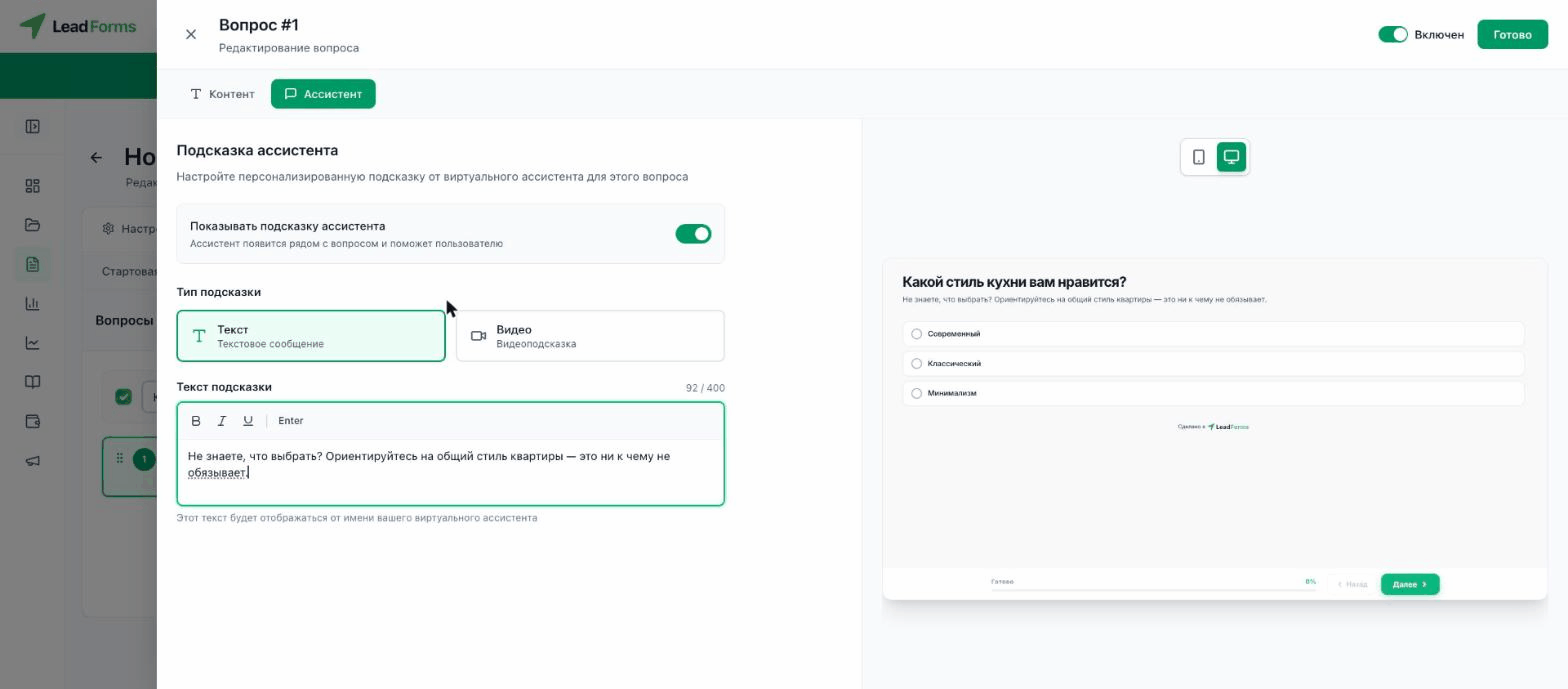
In the question editor, open the “Advisor” tab and turn on “Show advisor tip”. Choose the tip type, text or video, and fill it in. It appears next to the question and helps people answer.
Quiz design
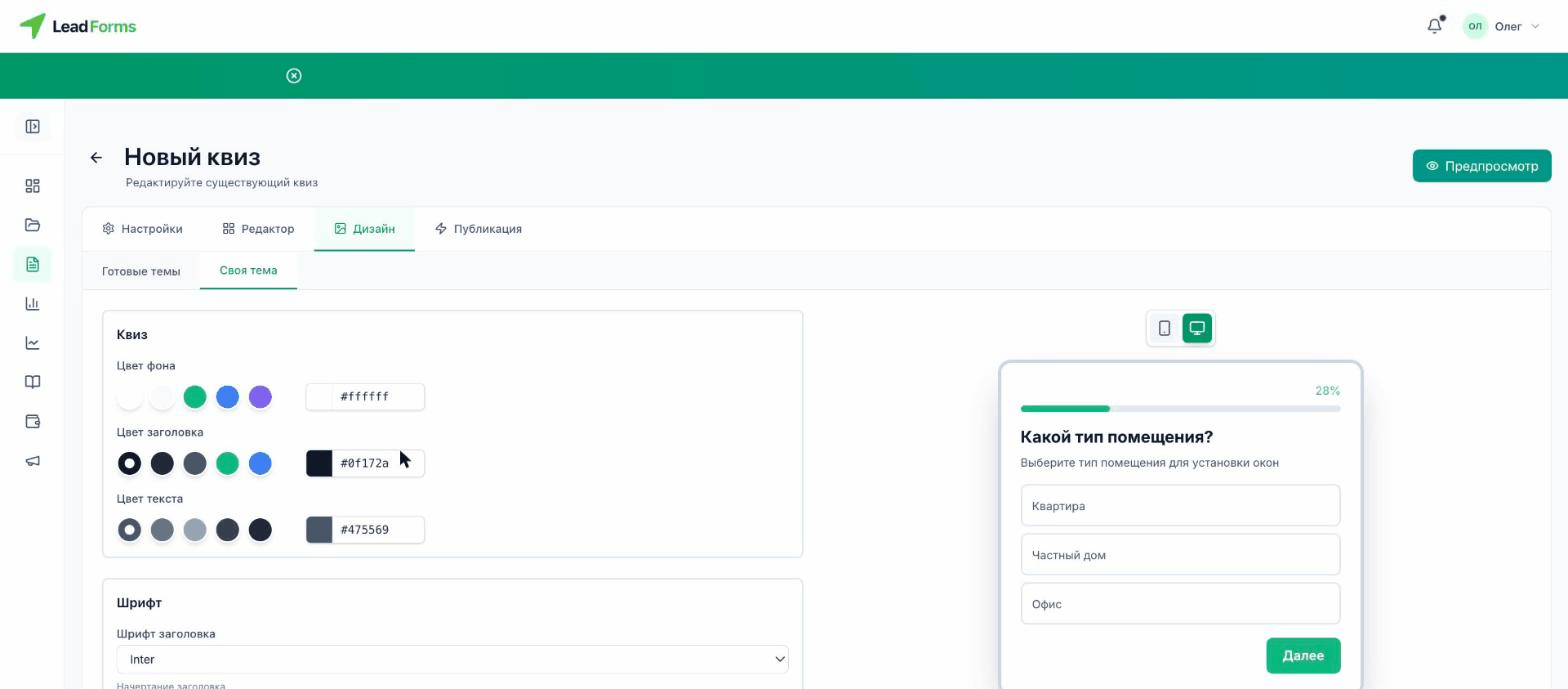
Pick a style in the “Design” tab. The “Ready-made themes” section has preset combinations, and in the “Custom theme” tab you can set your own background color, headline color and text color (HEX codes work too) and fonts. Everything applies to the whole quiz.
Contact form
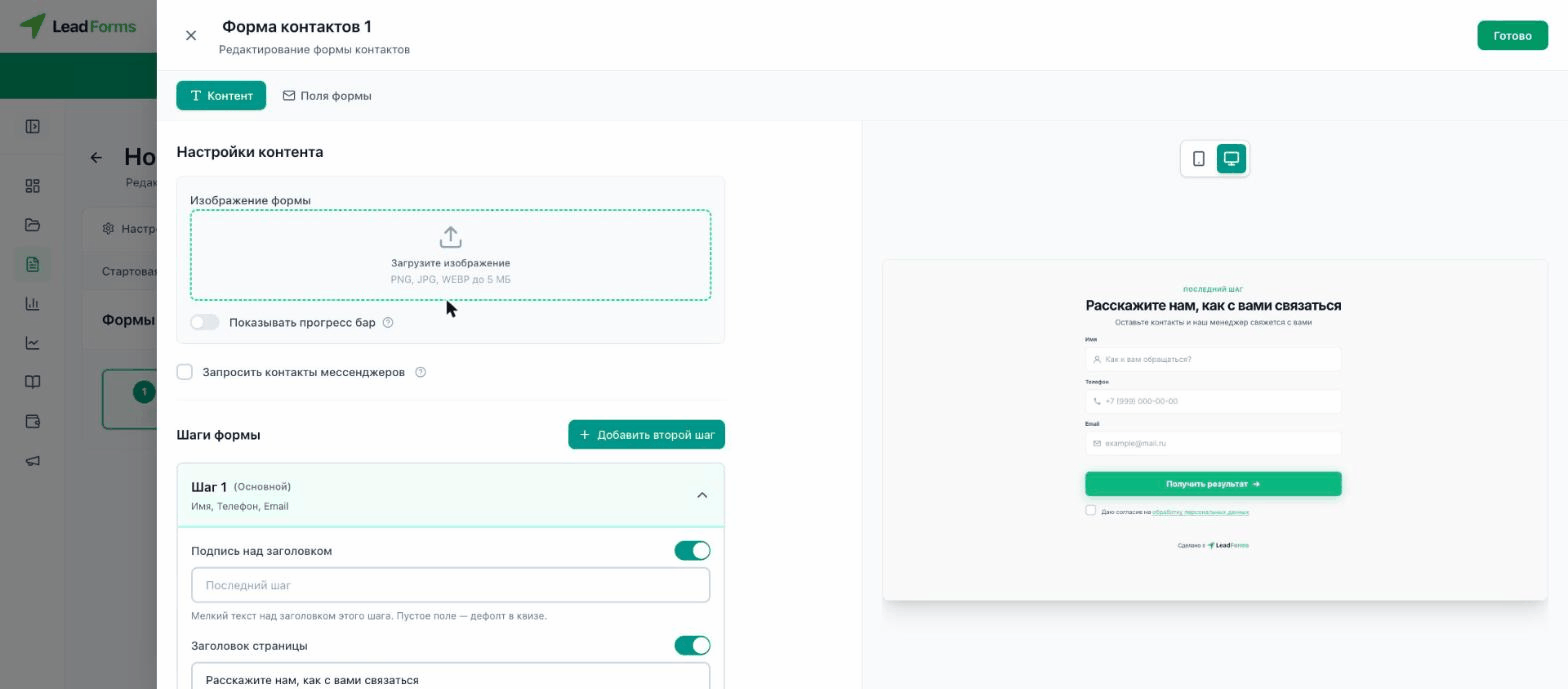
In the “Contact form” step, open the form and, in the “Form fields” tab, choose what to collect: name, phone, email. In the same place you can ask for a messenger contact, add an image and split the form into several steps. The headline and the text above the form are set in the “Content” tab.
Thank-you page
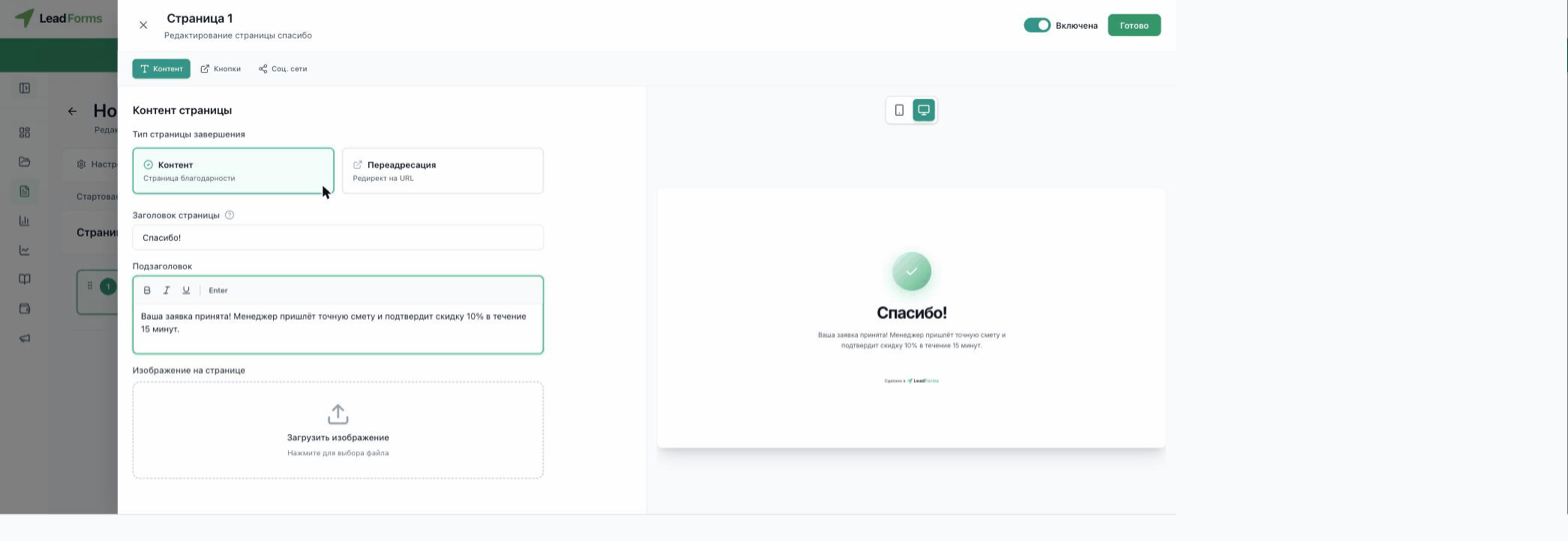
The Thank-you page step is what people see after they send their details. Choose how the quiz ends: “Content” (a thank-you page with a headline and message) or “Redirect” (to a URL you specify). In the buttons and social media tabs you can add buttons and links to your profiles.
Publishing the quiz
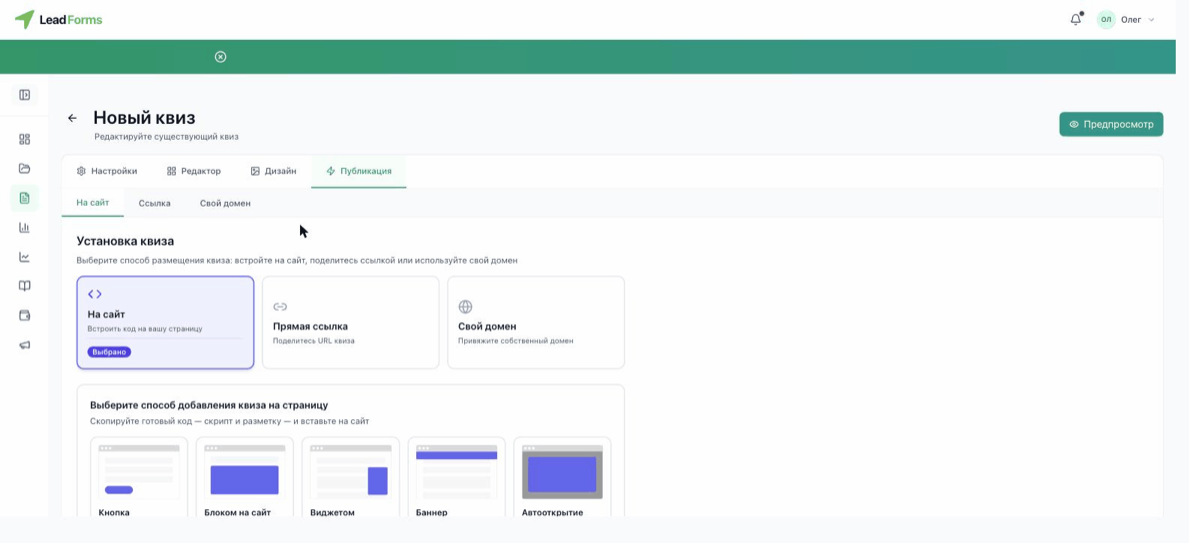
In the “Publish” tab, choose how to publish: “On website” (paste the code into your page), “Direct link” (share a URL) or “Custom domain”. For embedding, pick a format: button, block on the page, widget, banner or auto-open. Then copy the code and paste it into your website. Setup for each platform is covered in our guides.
General settings
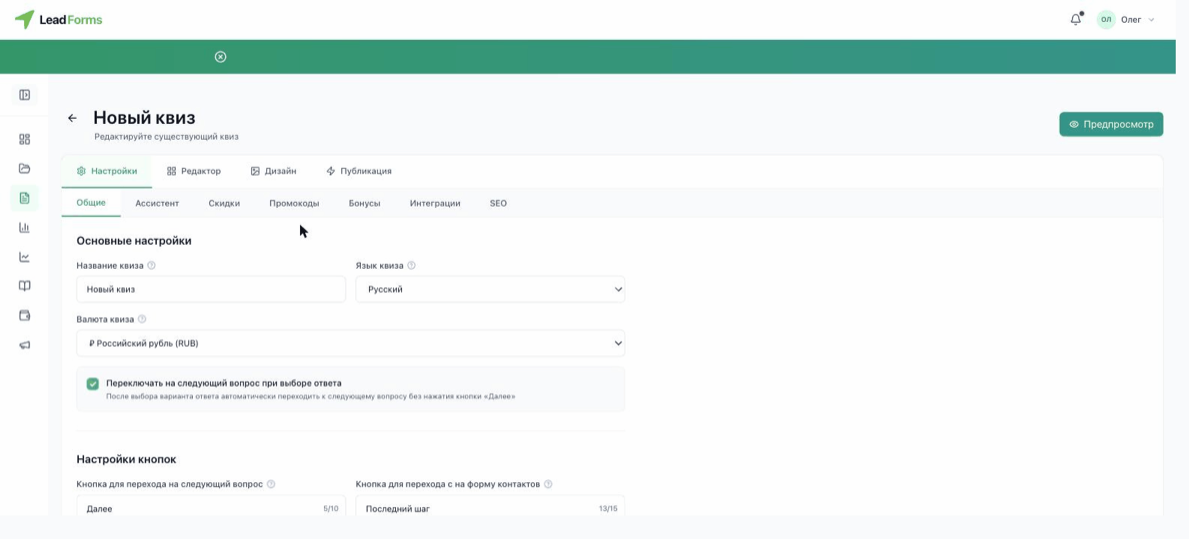
In “Settings” → “General” you set the quiz name, language and currency, and how the quiz behaves: for example, “Go to the next question after an answer” and the text of the navigation buttons.
Discount
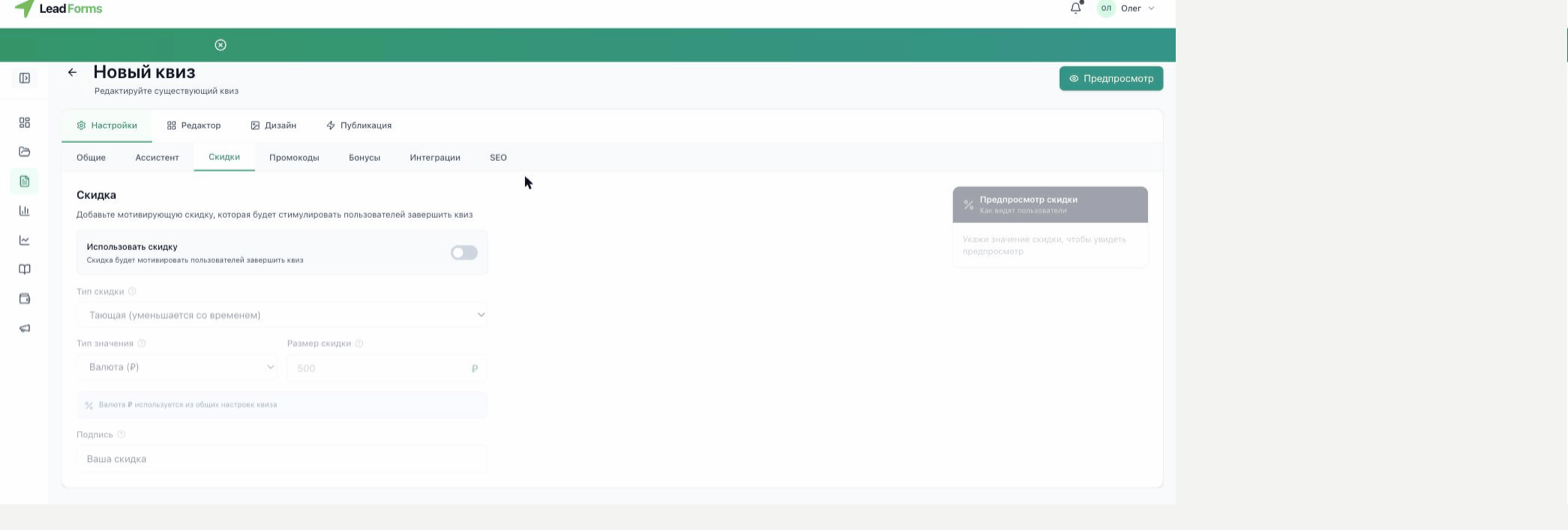
To motivate people to finish the quiz, open “Settings” → “Discounts” and turn on the “Use discount” toggle. Choose the discount type (for example, one that shrinks over time), the value type and amount, and the text. The preview on the right shows what visitors will see. In the promo code and bonus tabs you can add coupons and an extra gift.
Integrations and notifications
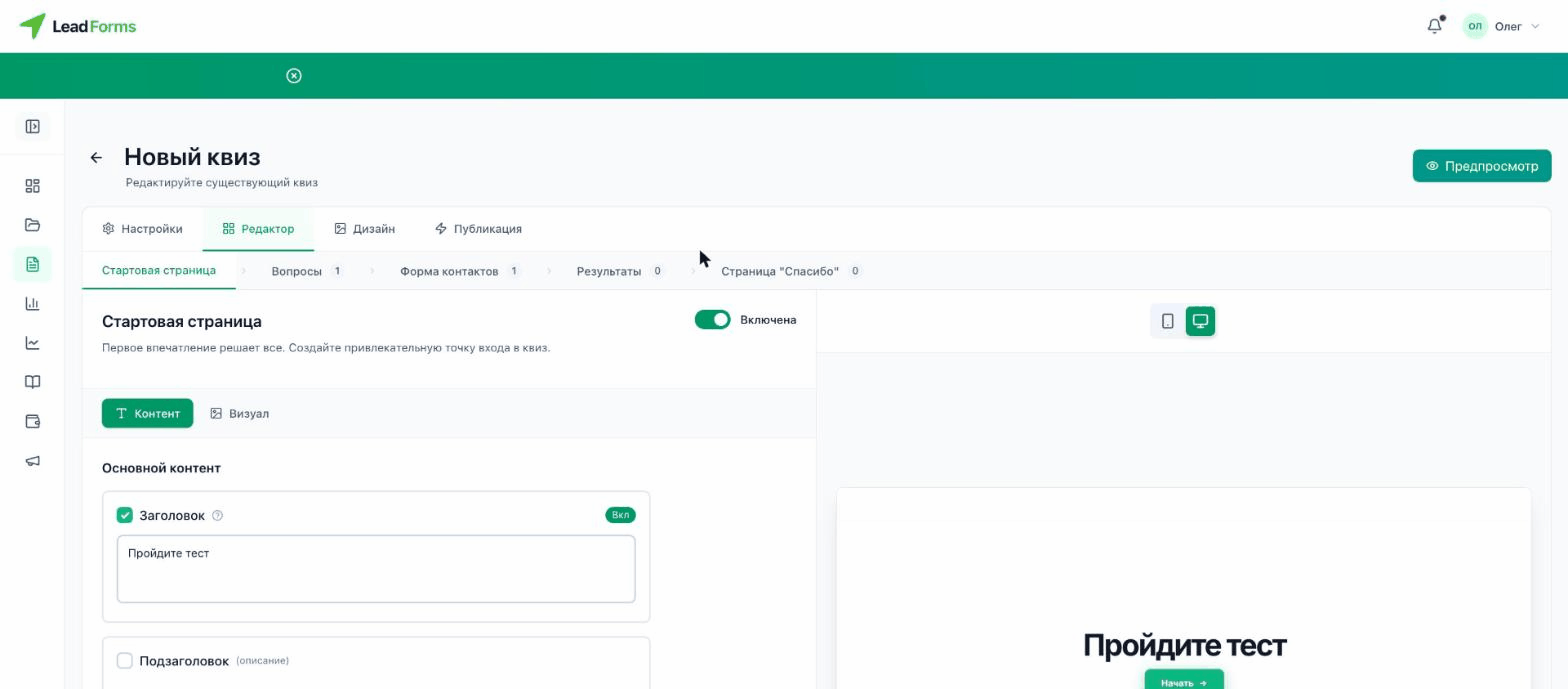
In “Settings” → “Integrations” you connect external services. The “Email” card handles lead notifications by email, and next to it are the CRM and analytics integrations: Kommo (amoCRM), Bitrix24, Webhooks, Telegram, Google Analytics and more. Each one is set up by following our guides.